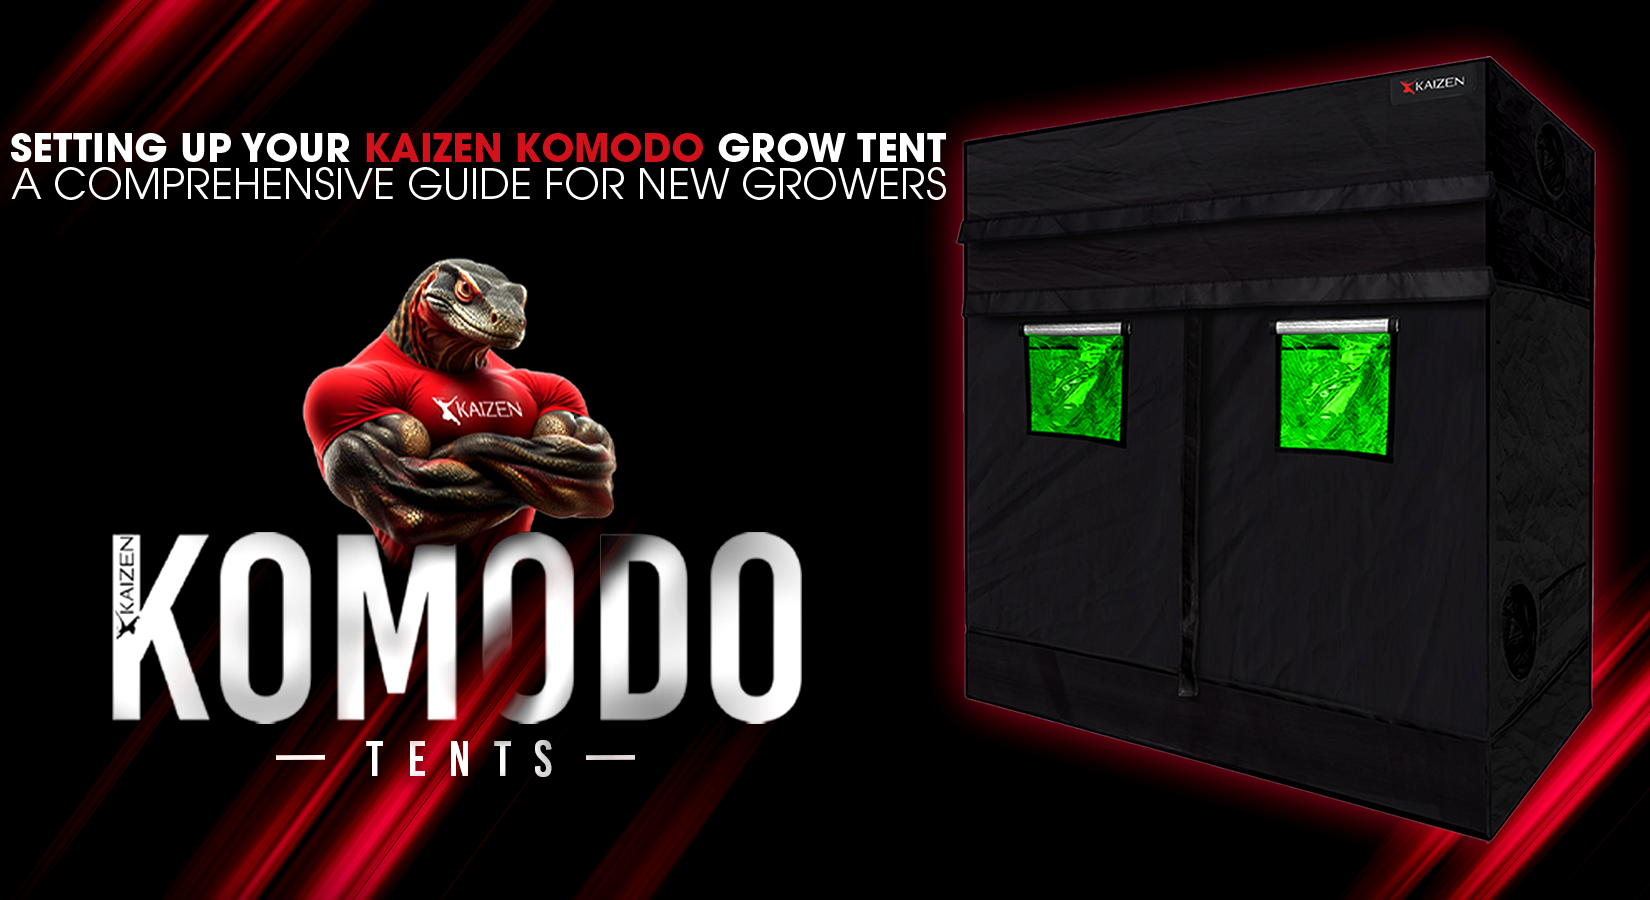
The Kaizen Komodo Grow Tent has quickly become the go-to product for indoor horticulturists in January 2025. Its premium quality, user-friendly design, and adaptability make it an excellent choice for both beginners and seasoned growers. In this guide, we’ll walk you through the setup process and highlight why the Kaizen Komodo tent stands out in the market.
Why Choose the Kaizen Komodo Grow Tent?
Before diving into the setup, let’s explore what makes the Kaizen Komodo tent a top choice:
Premium Quality: The tent features diamond Mylar-lined interior sheeting, enhancing light reflection and distribution. Notably, it avoids the use of plastic corners, opting for more durable materials that ensure longevity and superior results.
Easy Setup: Designed with user convenience in mind, the tent boasts a fully detachable roof and easy-to-read instructions, making assembly straightforward and hassle-free. It also includes a removable drip tray and carbon filter straps for added functionality.
Height Flexibility: With 30cm extension poles, you can adjust the tent’s height from 210cm to 240cm, accommodating various plant sizes and lighting setups.
Step-by-Step Setup Guide
Follow these steps to set up your Kaizen Komodo Grow Tent efficiently:
1. Unpack and Organize Components:
Lay out all parts, including poles, connectors, fabric cover, drip tray, and accessories.
Refer to the included instruction manual to ensure all components are present.
2. Assemble the Frame: Connect the metal poles according to the labelled instructions, forming the base and vertical supports.
Secure the frame using the metal connectors, ensuring all joints are tightly fitted.
3. Attach the Fabric Cover:
Drape the tent fabric over the assembled frame.
Align the corners and zip up the sides, ensuring a snug fit.
Utilize the fully detachable roof feature to easily position lighting and other equipment before sealing the top.
4. Install Accessories:
Place the removable drip tray at the bottom to catch any spills and facilitate easy cleaning.
Attach carbon filter straps and any additional equipment, such as fans or lights, using the built-in support bars.
5. Adjust Height (If Necessary):
If your plants require extra space, use the 30cm extension poles to increase the tent’s height from 210cm to 240cm.
Follow the manufacturer’s instructions to safely add the extensions without compromising stability.
Tips for New Growers
Location: Choose a flat, stable surface for your tent, away from direct sunlight and extreme temperatures.
Ventilation: Ensure proper airflow by setting up intake and exhaust fans. This helps regulate temperature and humidity, promoting healthy plant growth.
Lighting: Position grow lights at appropriate heights, adjusting as plants grow. The reflective Mylar interior enhances light efficiency, reducing the need for excessive lighting.
Maintenance: Regularly inspect the tent for any signs of wear or damage. Clean the interior surfaces and drip tray to maintain a hygienic growing environment.
Why the Kaizen Komodo Tent is the Go-To Product of January 2025
The Kaizen Komodo Grow Tent has gained popularity due to its combination of quality, ease of use, and adaptability. Its premium materials ensure durability, while thoughtful design features like the detachable roof and height extensions cater to various growing needs. Additionally, the tent’s user-friendly setup process makes it accessible for growers at all experience levels.
By choosing the Kaizen Komodo Grow Tent, you’re investing in a reliable and versatile environment for your indoor gardening endeavours. Happy growing!
For more information and to purchase the Kaizen Komodo Grow Tent, visit our website www.hollandhorticulture.co.uk

